Spring has either arrived or will arrive soon, with warm weather, sunshine and the sound (or buzzing!) of nature all around. It’s time to take action to keep carpenter bees away from your home.
If you dealt with carpenter bees last season, read on for easy steps to a summer free of carpenter bees and the stress they cause. If you don’t yet have an infestation, or you recently moved into a new home and aren’t sure if there were past issues, we recommend you follow the same steps for the best protection.
Four Steps to Prepare Your Home Carpenter Bees in Spring:

1. Repair Carpenter Bee Holes
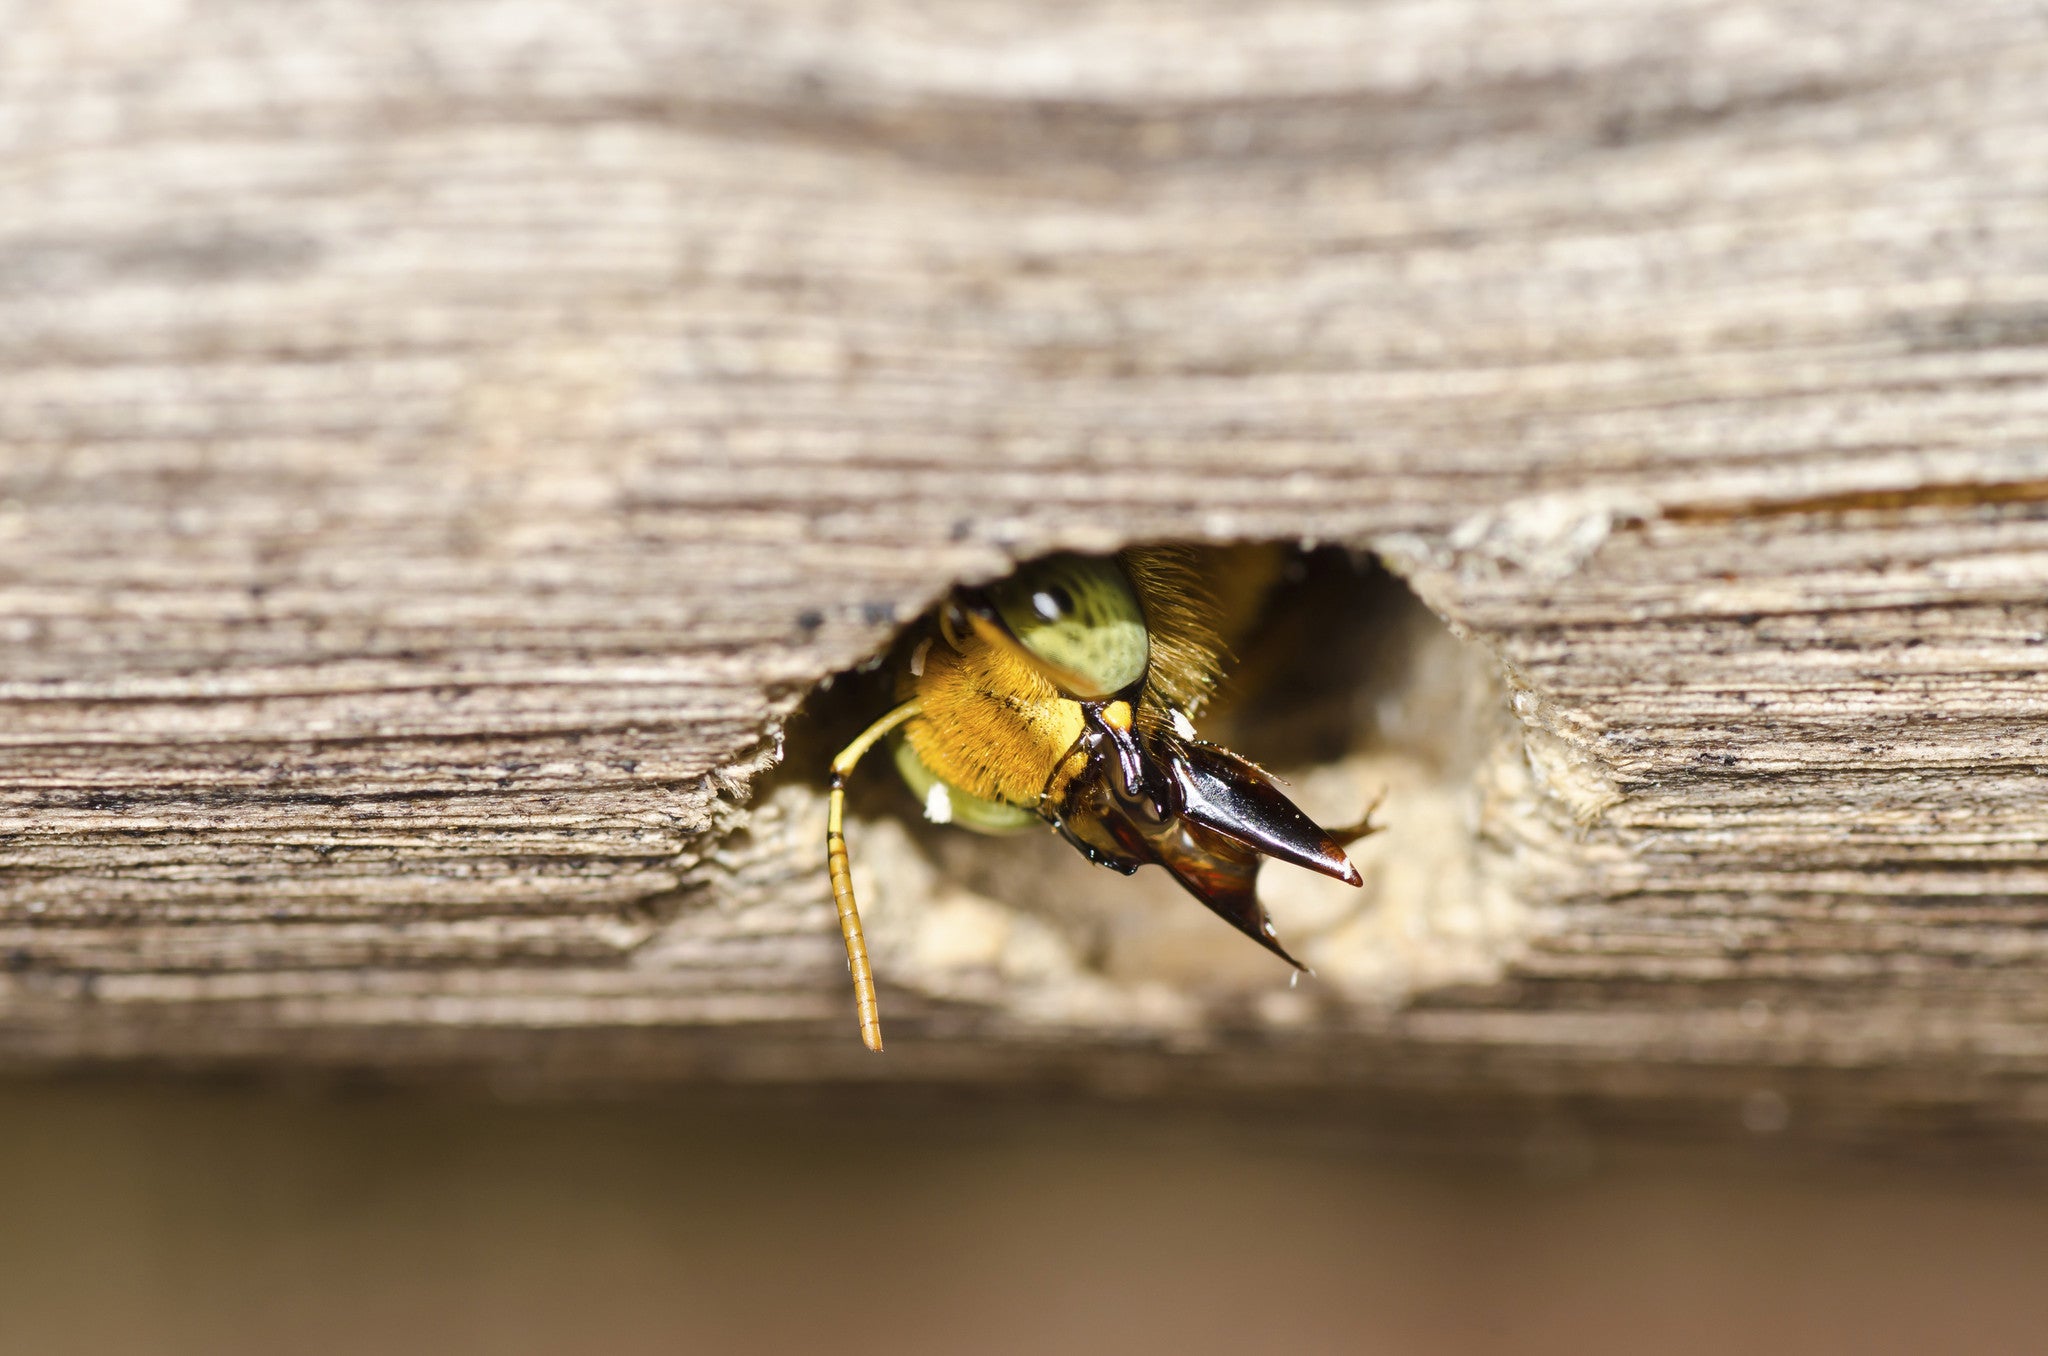
Survey your home to find any suspicious holes that might be carpenter bee nests. Look for a half-inch diameter hole in exposed wooden areas of your home, such as porch railings, fences and eaves.
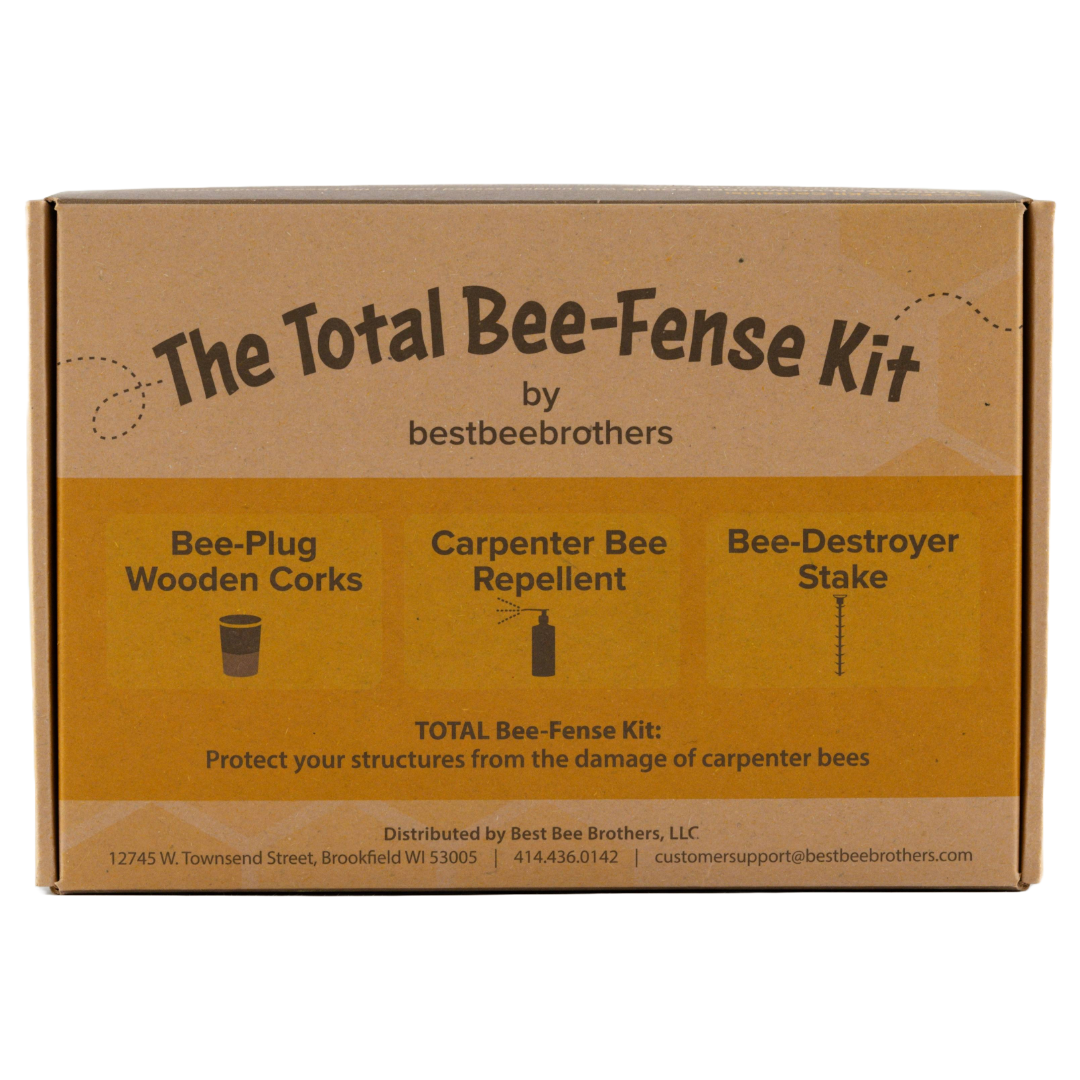
Since carpenter bees find those areas attractive for their nests, you will want to fill in any holes you find and make them flush with your home’s exterior. You will also want to fill in any divots around that size. Even if they weren’t carpenter bee nests before, they could become one this season. Check out our How to Repair Carpenter Bee Damage post for a step-by-step guide. Try our Hand-Dipped Wooden Corks, or check out our Total Bee-Fense Kit for Carpenter Bees, which has everything you need to take care of existing carpenter bee nests.

2. Paint, Primer and Stain
Carpenter bees prefer untreated wood. Now, this doesn’t mean they won’t start nesting in wood that has been treated, but putting a coat of carpenter bee repellent stain on your wood can help deter bees from using your home as a nesting area. And while we can’t guarantee it will completely deter the pesky carpenter bee, paint may also help keep them from moving in. Remember to do this after all your holes are filled and flush with the exterior!
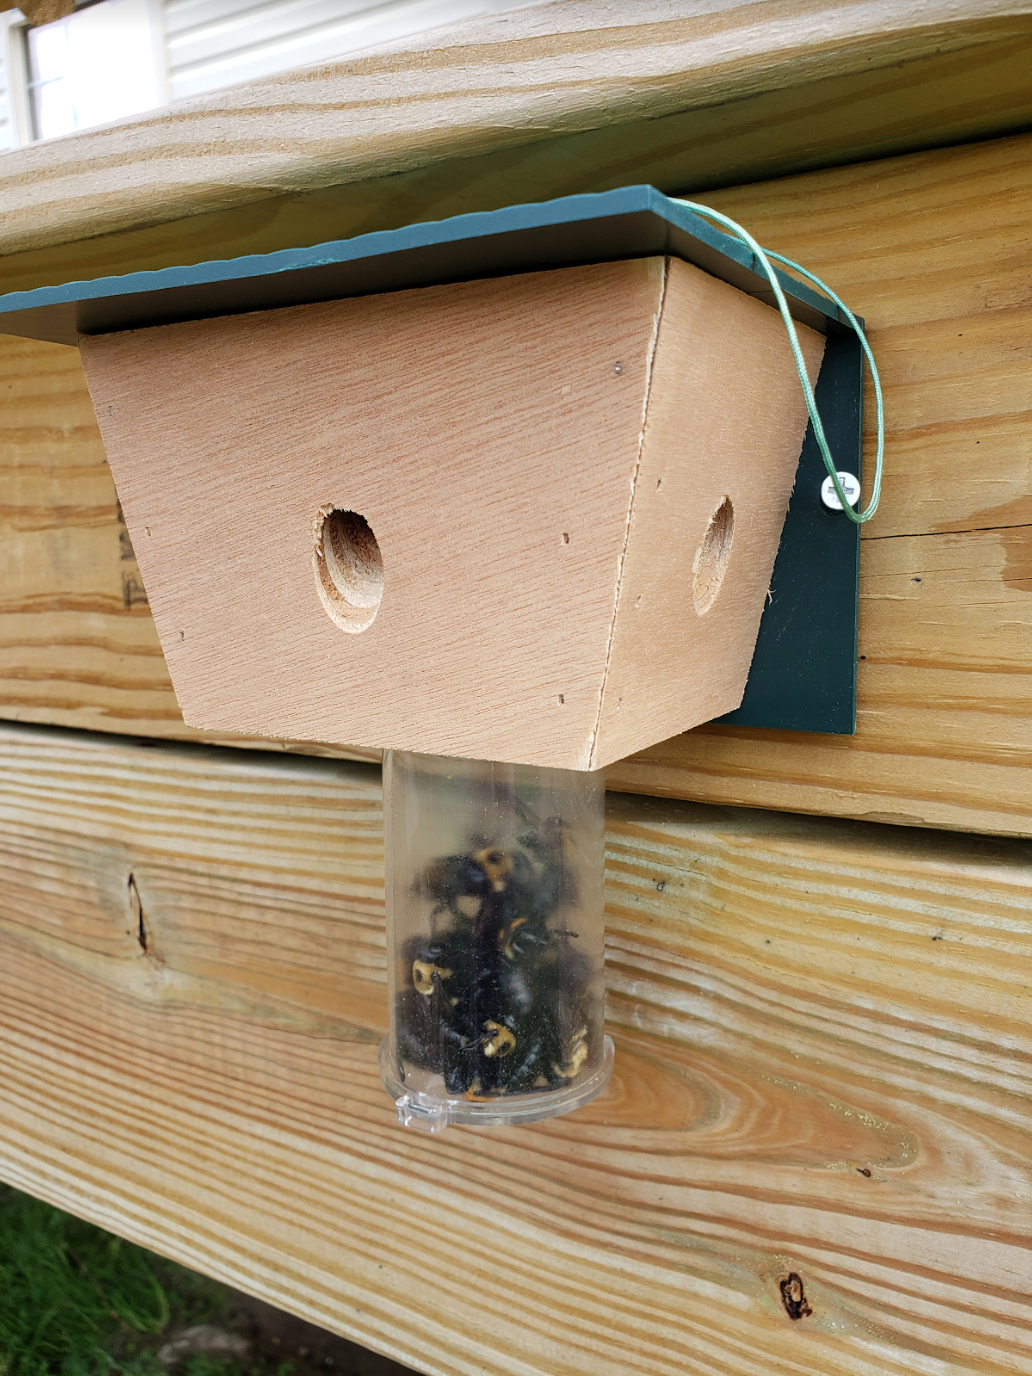
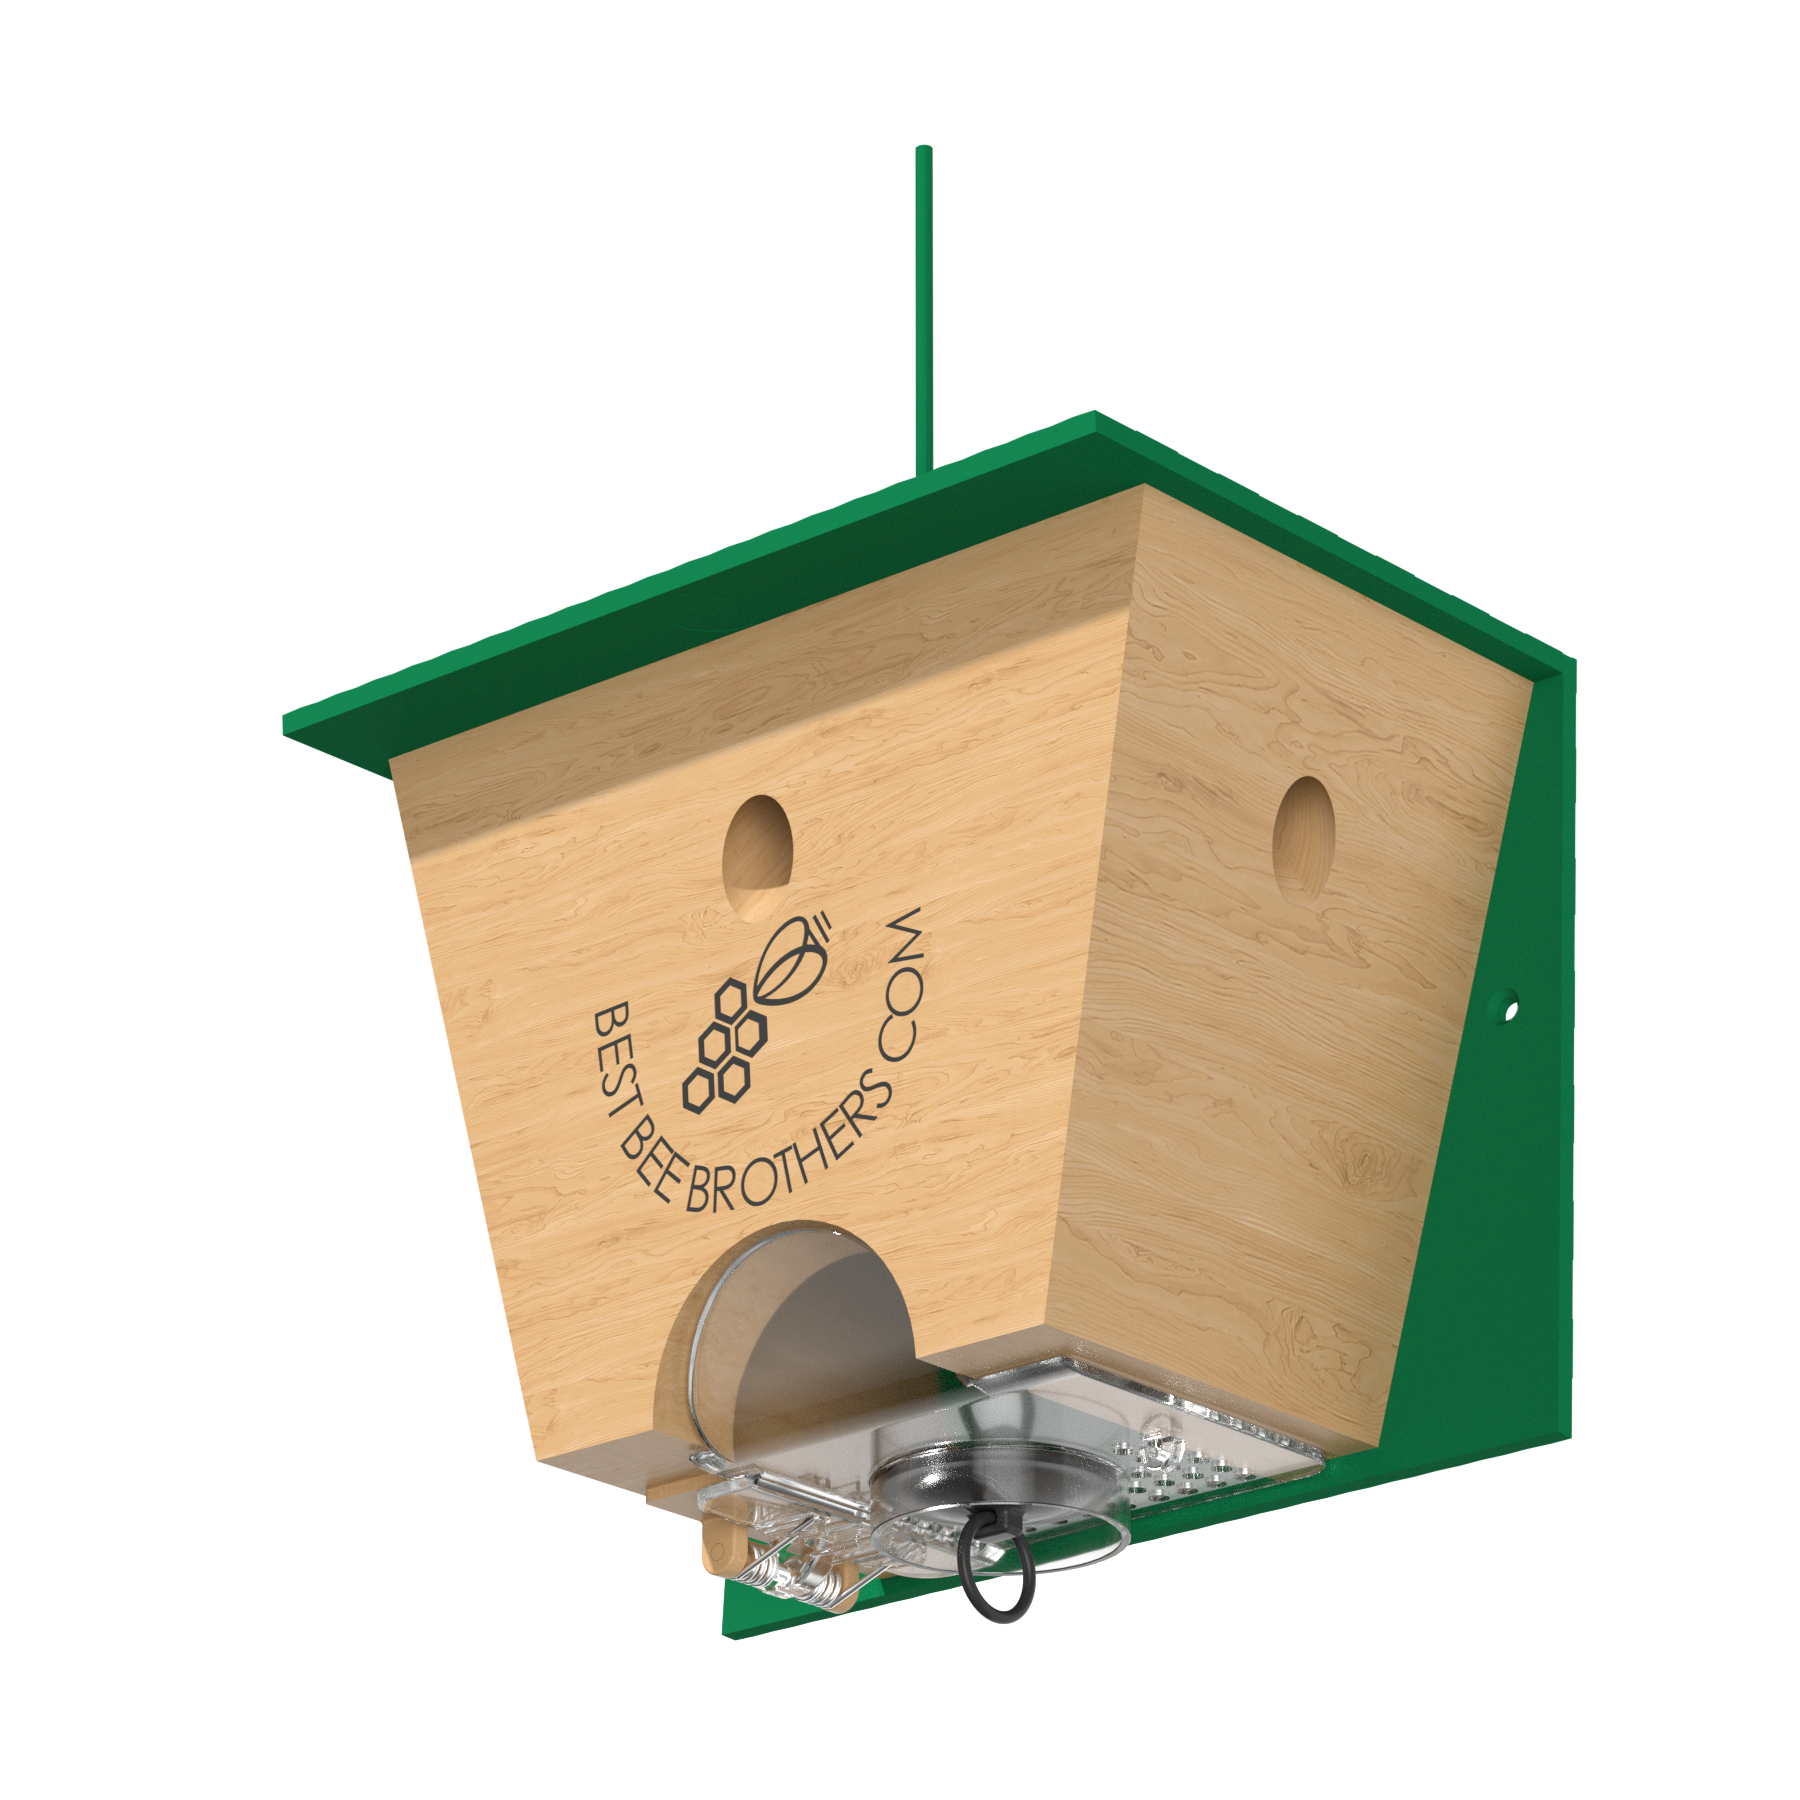
3. Hang Up Carpenter Bee Traps
Each trap has a 15 ft. working radius. To figure out how many traps you’ll need, measure the exposed wood around your home, and consider where you've seen carpenter bees before. For example, if the southern exposure of your house is 30 ft., you'll need at least two carpenter bee traps, one on each side of the 30 ft. length, to cover that area. Check out our trap placement page for more helpful tips.

Hang your traps or mount your traps!
4. Jump Start Your Trap
You can jump-start your traps one of two ways. One is to place a dead carpenter bee in the bottom of the trap. Dead carpenter bees are highly attractive to other carpenter bees. Their informs the carpenter bee that this could be an attractive place to nest, even though it is the opposite!
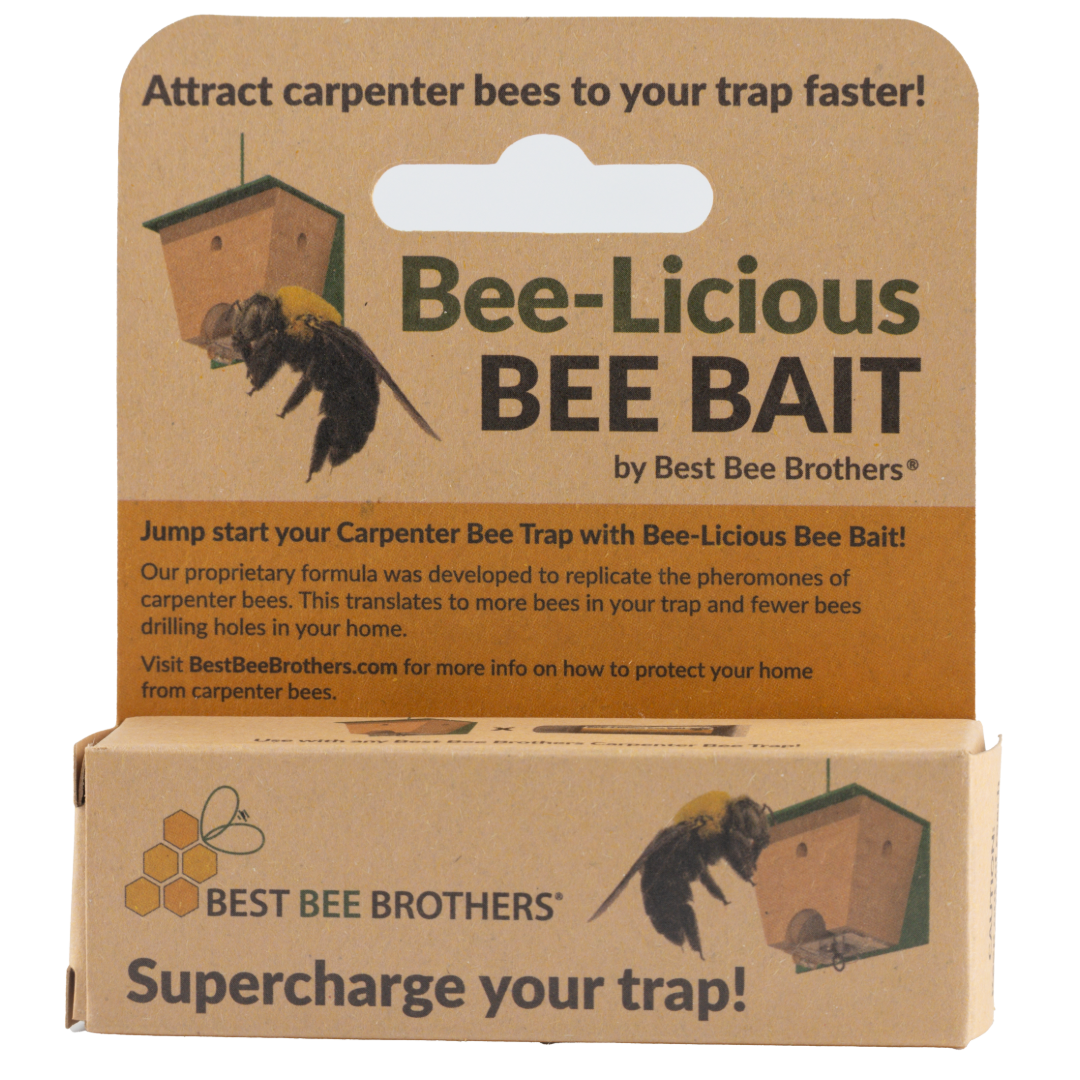
If you are being proactive, you may not have access to a dead carpenter bee. In that case, consider our BEE-Licious Bee Bait. Depending on the design of your trap, you’ll apply a dime-size amount of bee bait to either the plastic catch tube of your Carpenter Bee Trap, or on the catch tray of your Pine Wood Carpenter Bee Box Trap.
Empty the bottom catch tubes or catch trays on the traps when they are full, but to keep the pheromone smell strong, be sure to leave a bee or two inside when you hang the trap back up.

Just repeat these steps in spring to keep your home carpenter bee free!
Bonus Tip:
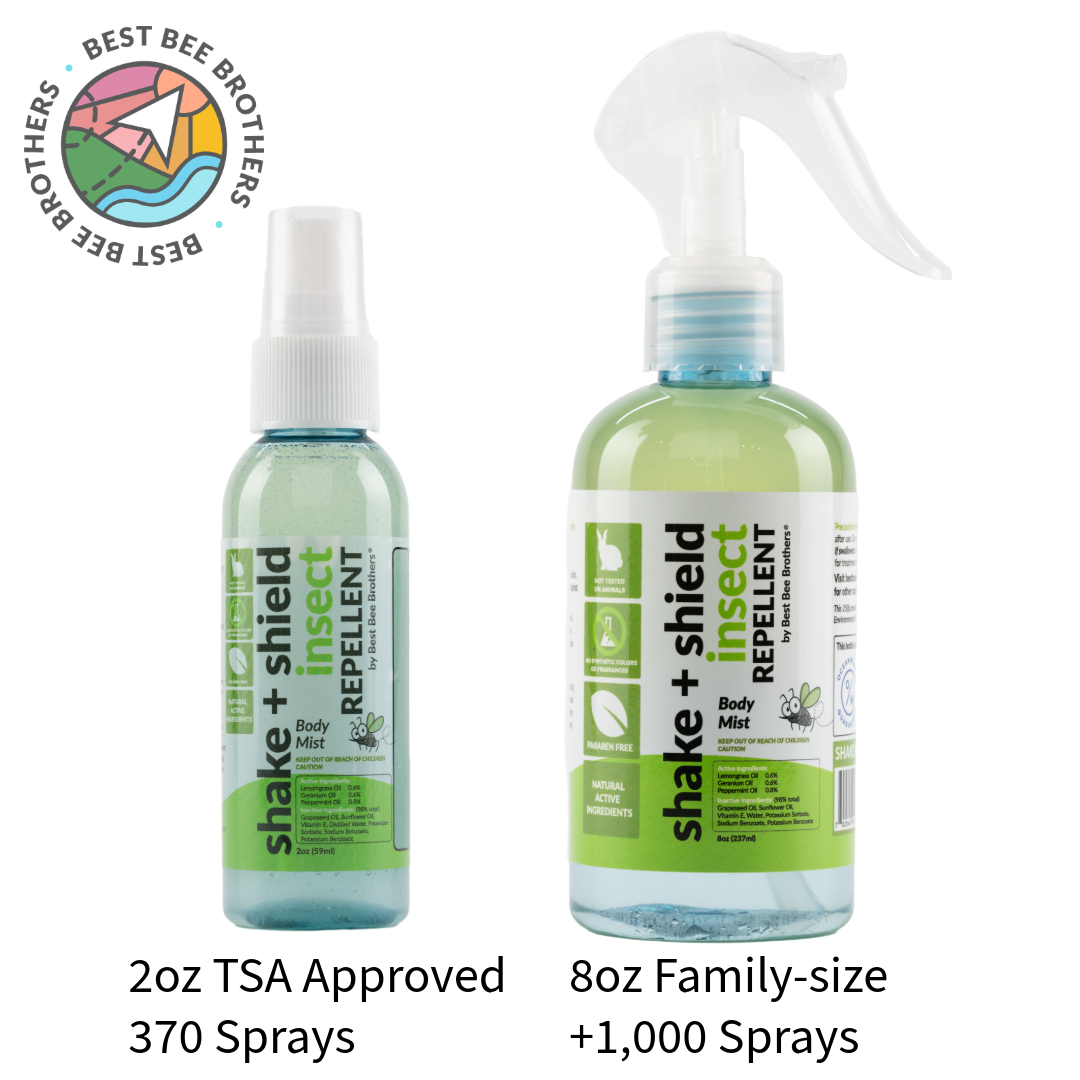
Do you have wooden outdoor furniture that needs extra protection? Try using a citrus extract spray. Carpenter bees hate the smell of citrus.


Leave a comment
All comments are moderated before being published.
This site is protected by hCaptcha and the hCaptcha Privacy Policy and Terms of Service apply.