
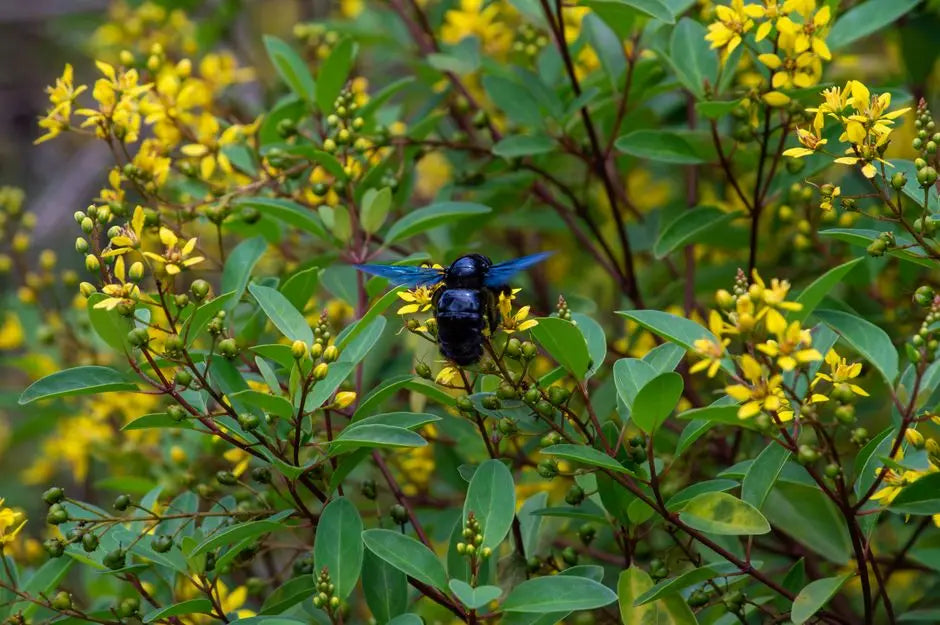
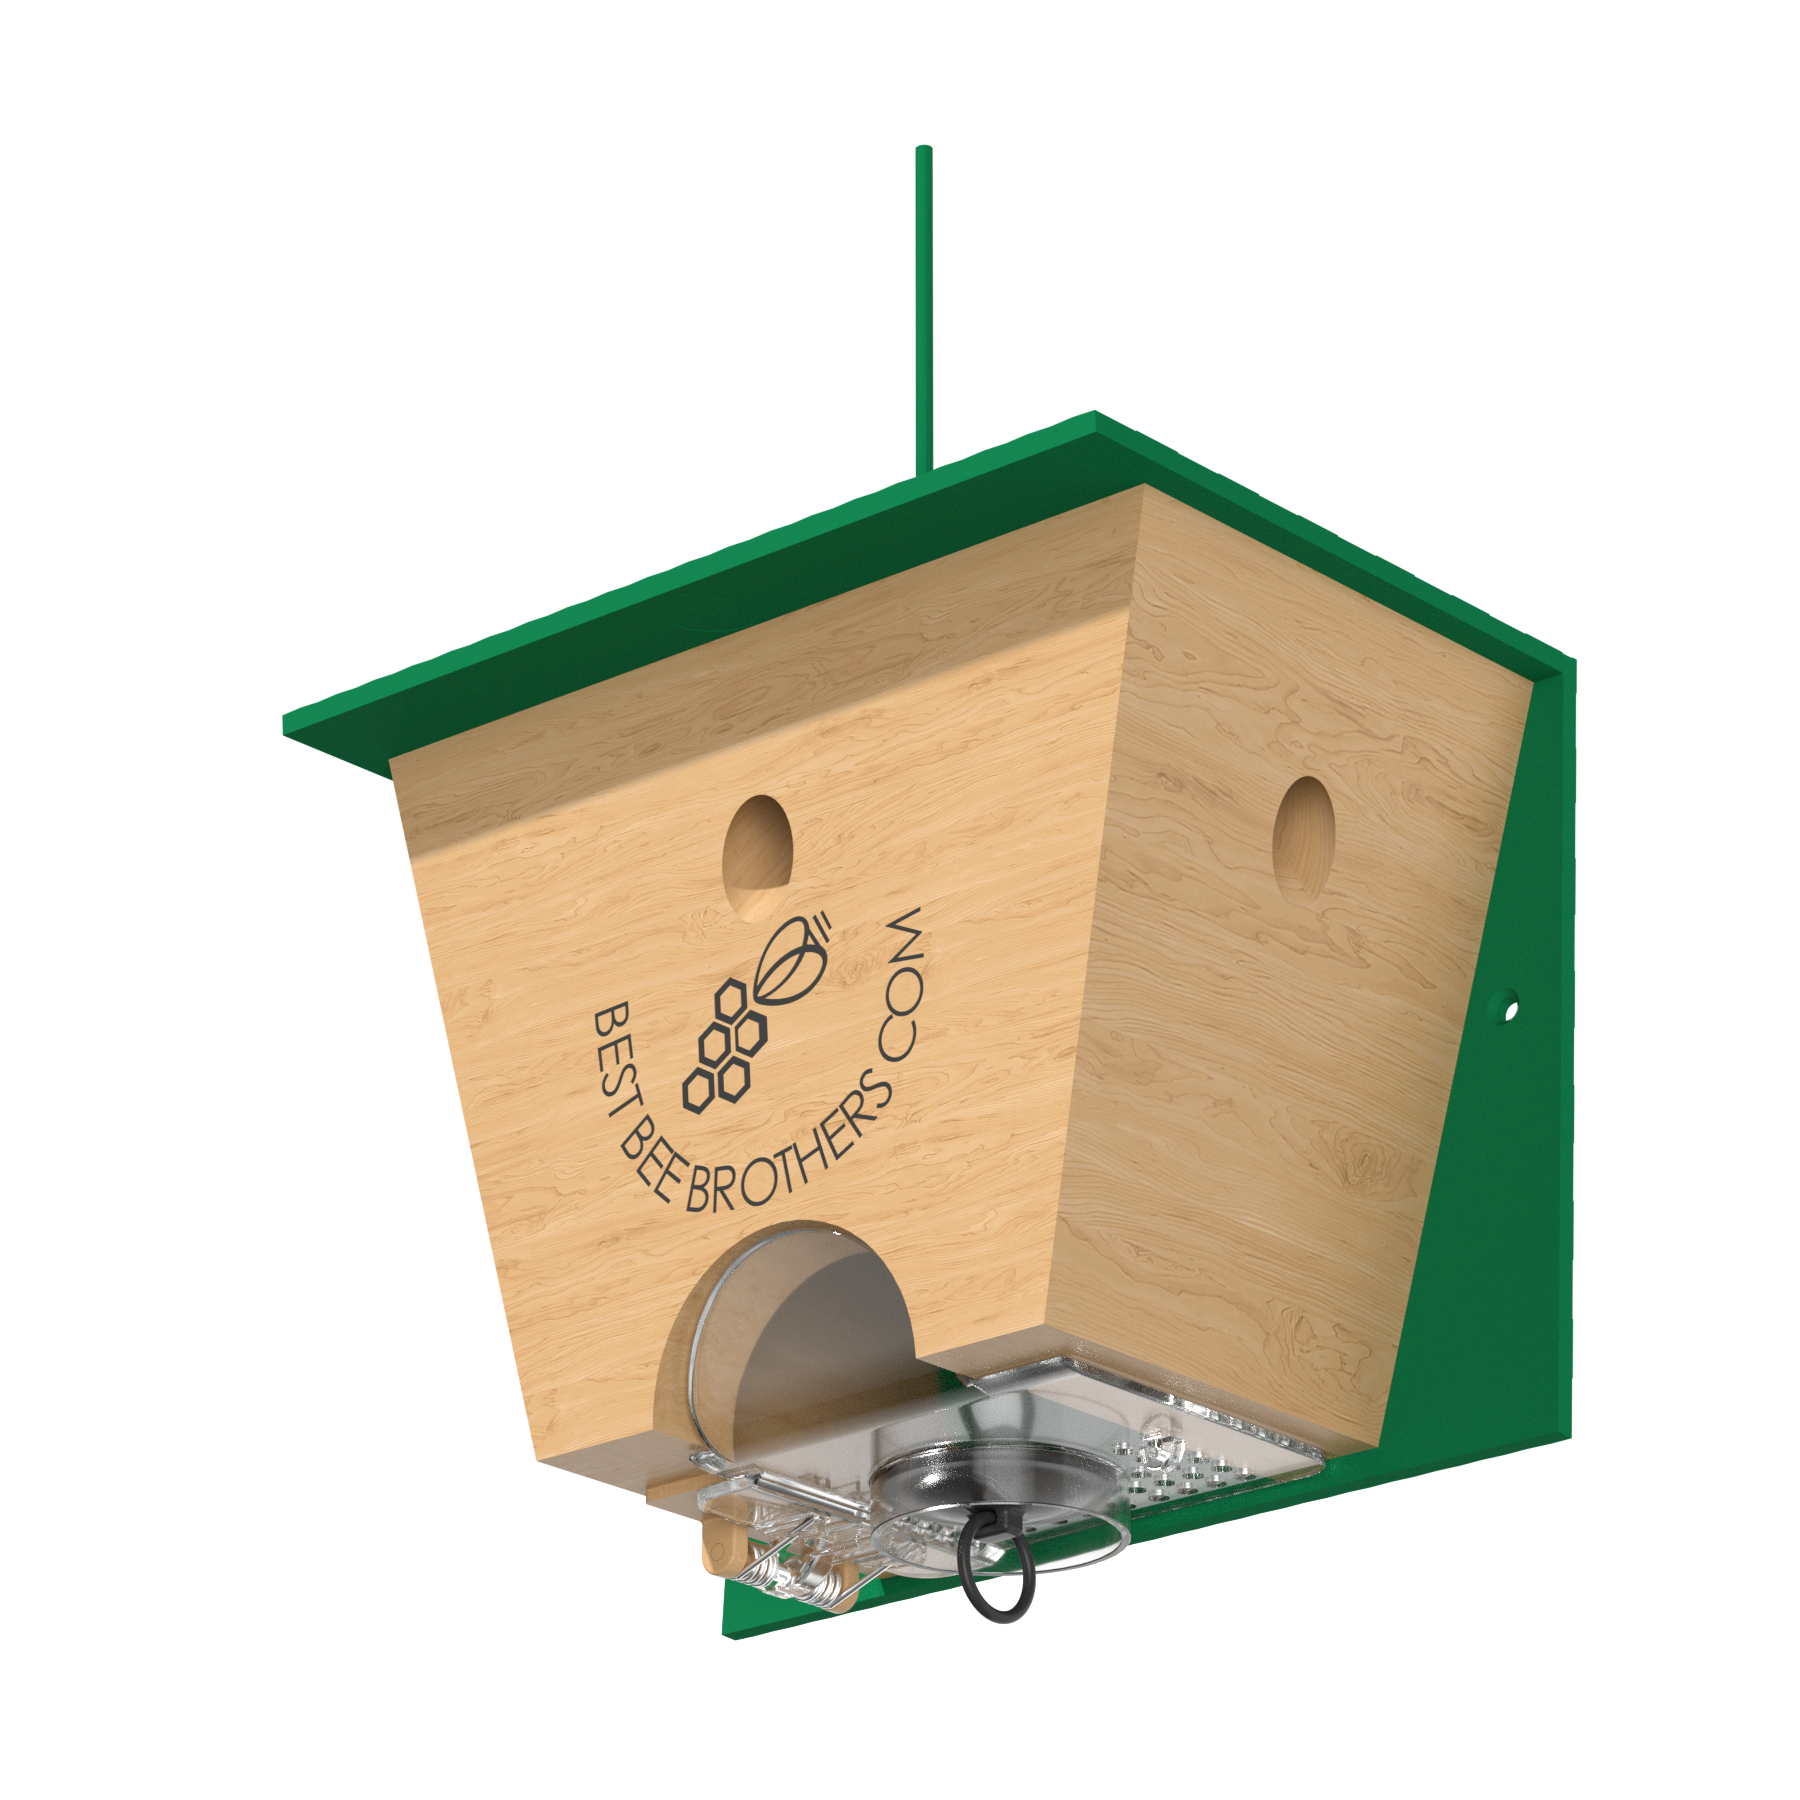
Best Bee brothers Carpenter bee traps are essential tools for protecting your wooden structures from the damage these industrious insects can cause. However, like any tool, they require regular maintenance to remain effective. Cleaning your Best Bee Brothers carpenter bee trap doesn't have to be a daunting task. In this guide, we'll walk through seven straightforward steps to keep your Best Bee Brothers bee trap in top-notch condition, ensuring it works efficiently season after season.
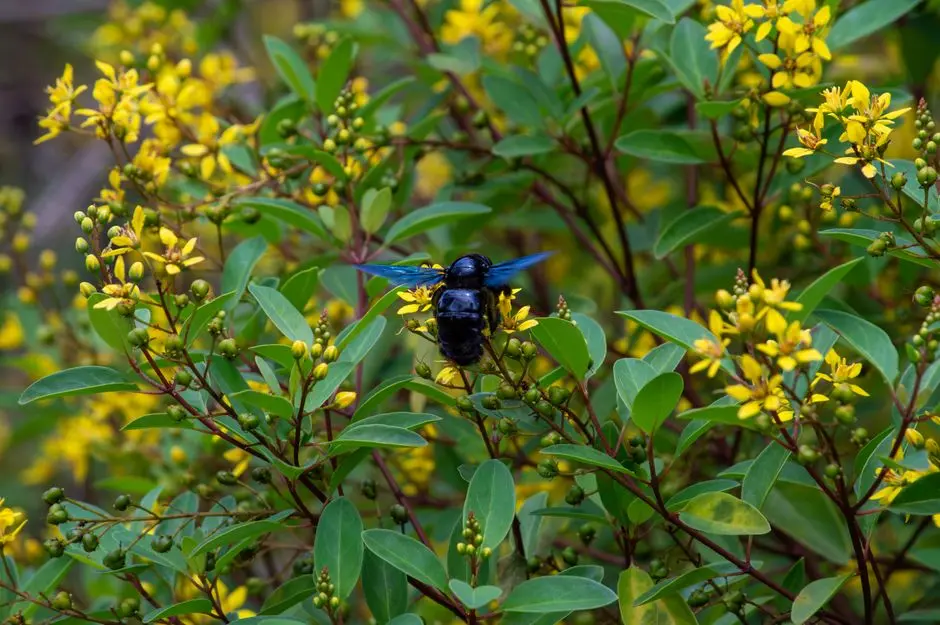
7 Steps to Properly Clean Your Carpenter Bee Trap
Keeping your Best Bee brothers carpenter bee trap clean helps maintain its performance and extends its usable life. Regular maintenance can also make inspections easier and help you identify any wear that may require attention. Follow these seven steps to clean your Best Bee Brothers carpenter bee trap properly.
1. Gather Your Cleaning Supplies
Before you begin, gather the supplies you'll need, including rubber gloves, a small brush, mild soap, and access to clean running water.
A mild soap is recommended because it helps remove dirt and residue without leaving behind noticeable residue or strong odors. Any strong odors will deter the carpenter bees from entering the trap. Having all of your supplies ready before you start makes the cleaning process quicker and more efficient.
2. Remove the Trap
Carefully remove the Best Bee Brothers trap from its installed location. Depending on the model, this may involve loosening screws, unclipping mounting hardware, or lifting the trap from its bracket.
Handle the trap carefully to avoid damaging the trap or the mounting surface. If possible, perform maintenance in dry weather to make handling and reinstallation easier.
3. Empty the Trap
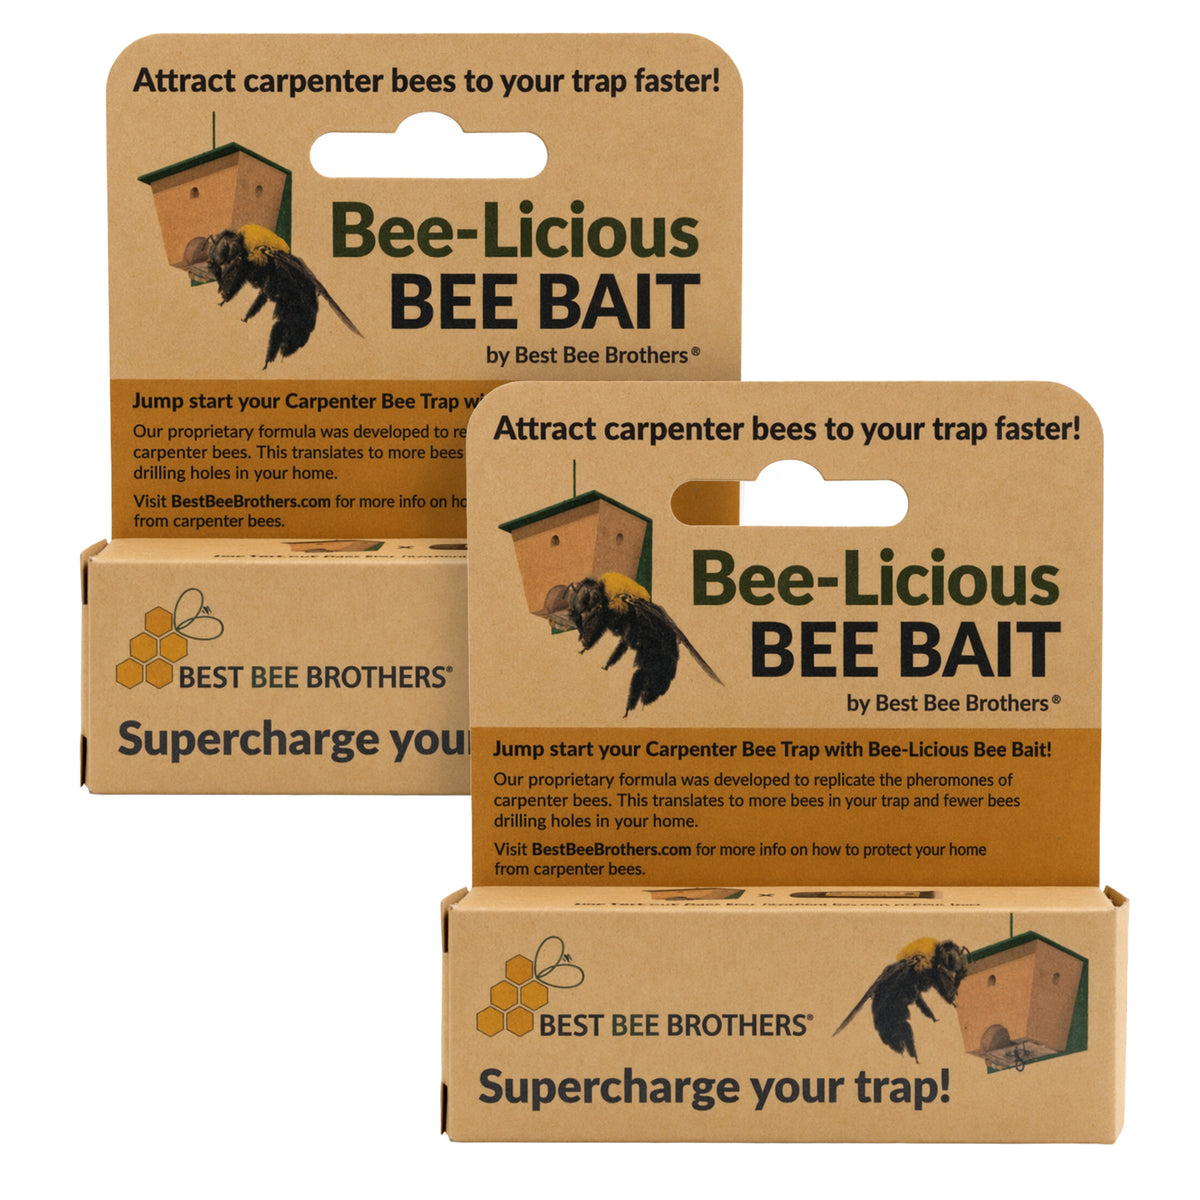
After removing the Best Bee Brothers trap, empty any captured carpenter bees and debris from the collection chamber. For future use as bait, keep a couple of the dead carpenter bees.
Dispose of the contents according to local waste disposal requirements and clean up any remaining debris before continuing. Inspecting the trap during each cleaning can also help you monitor activity and determine how frequently maintenance is needed.
4. Clean the Trap
Using your brush and mild soap, gently scrub the trap's surfaces, paying close attention to the entrance holes and collection chamber. Removing dirt and buildup helps keep the trap in good working condition.
While cleaning, inspect the trap for cracks, loose components, or other signs of wear. Addressing minor issues early can help extend the life of the trap.
Establishing a regular maintenance schedule—such as monthly inspections during carpenter bee season—can help keep the Best Bee Brothers trap functioning as intended.
5. Rinse Thoroughly
Rinse the Best Bee Brothers trap thoroughly with clean water to remove any remaining soap and loosened debris. A garden hose or other source of running water can make this step easier.
Be sure all soap residue has been removed before allowing the trap to dry.
6. Allow the Trap to Dry
Allow the Best Bee Brothers trap to dry completely before reinstalling it. Drying helps prevent excess moisture from remaining inside the trap before it is placed back into service.
You can let the Best Bee Brothers trap air dry in a well-ventilated area or dry it with a clean cloth before reinstalling it.
7. Reinstall the Trap
Once the Best Bee Brothers trap is completely dry, reinstall it in its original location and ensure it is securely mounted according to the manufacturer's instructions.
Periodically inspect the Best Bee Brothers Carpenter Bee trap throughout the season to confirm it remains securely positioned and is ready for continued use. Setting a reminder for routine maintenance can help ensure the trap is cleaned and inspected on a regular schedule.




Leave a comment
All comments are moderated before being published.
This site is protected by hCaptcha and the hCaptcha Privacy Policy and Terms of Service apply.