Carpenter Bee Removal Kit
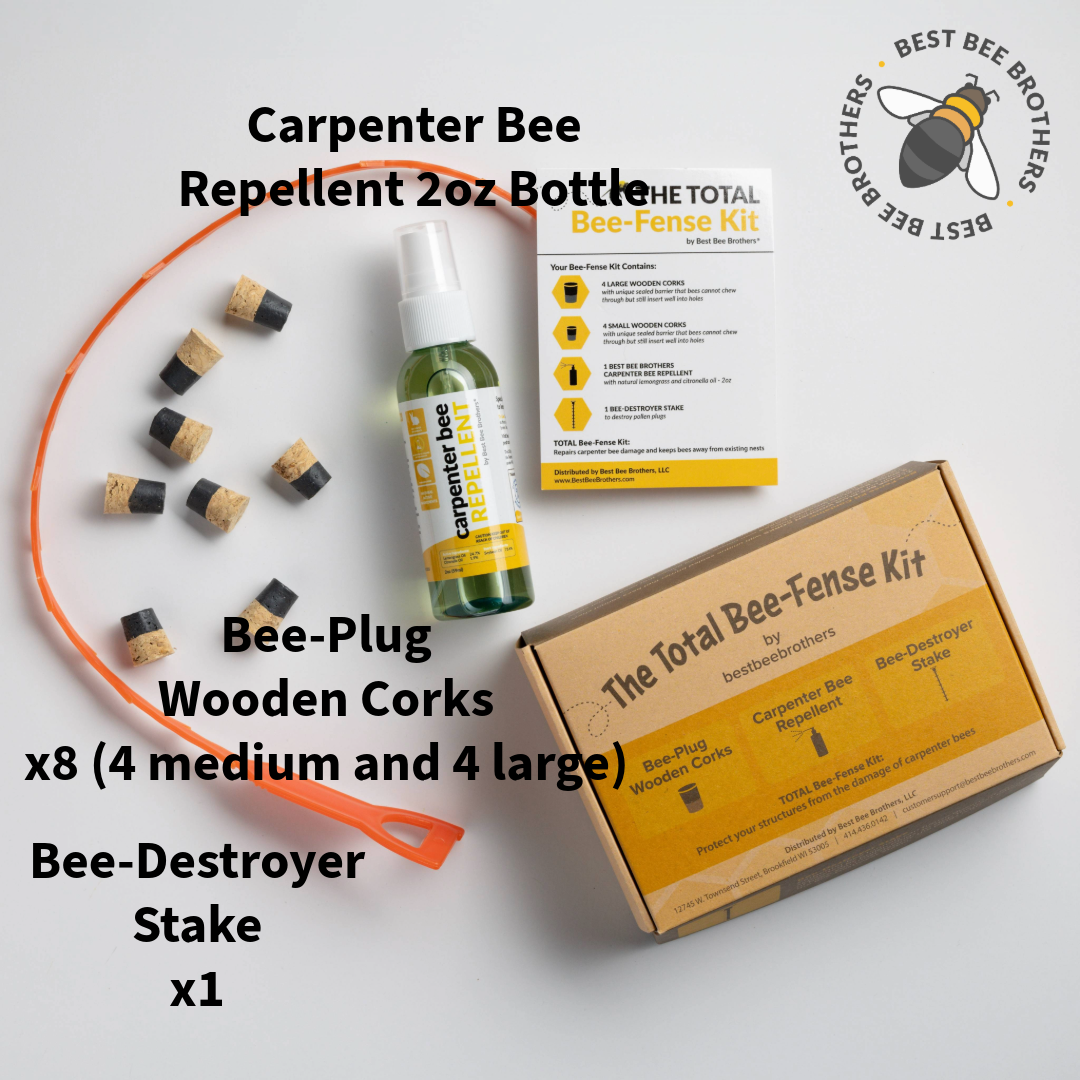
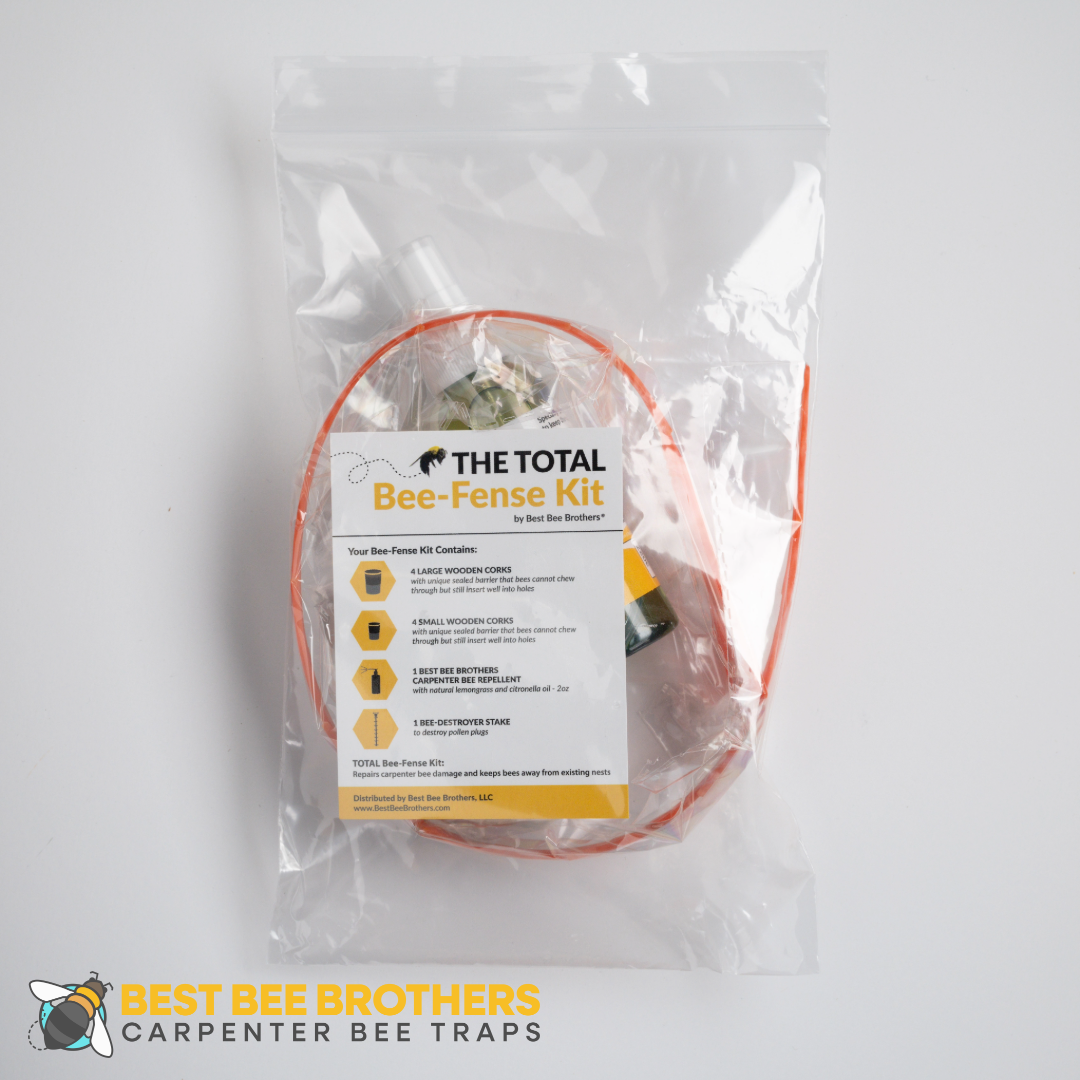
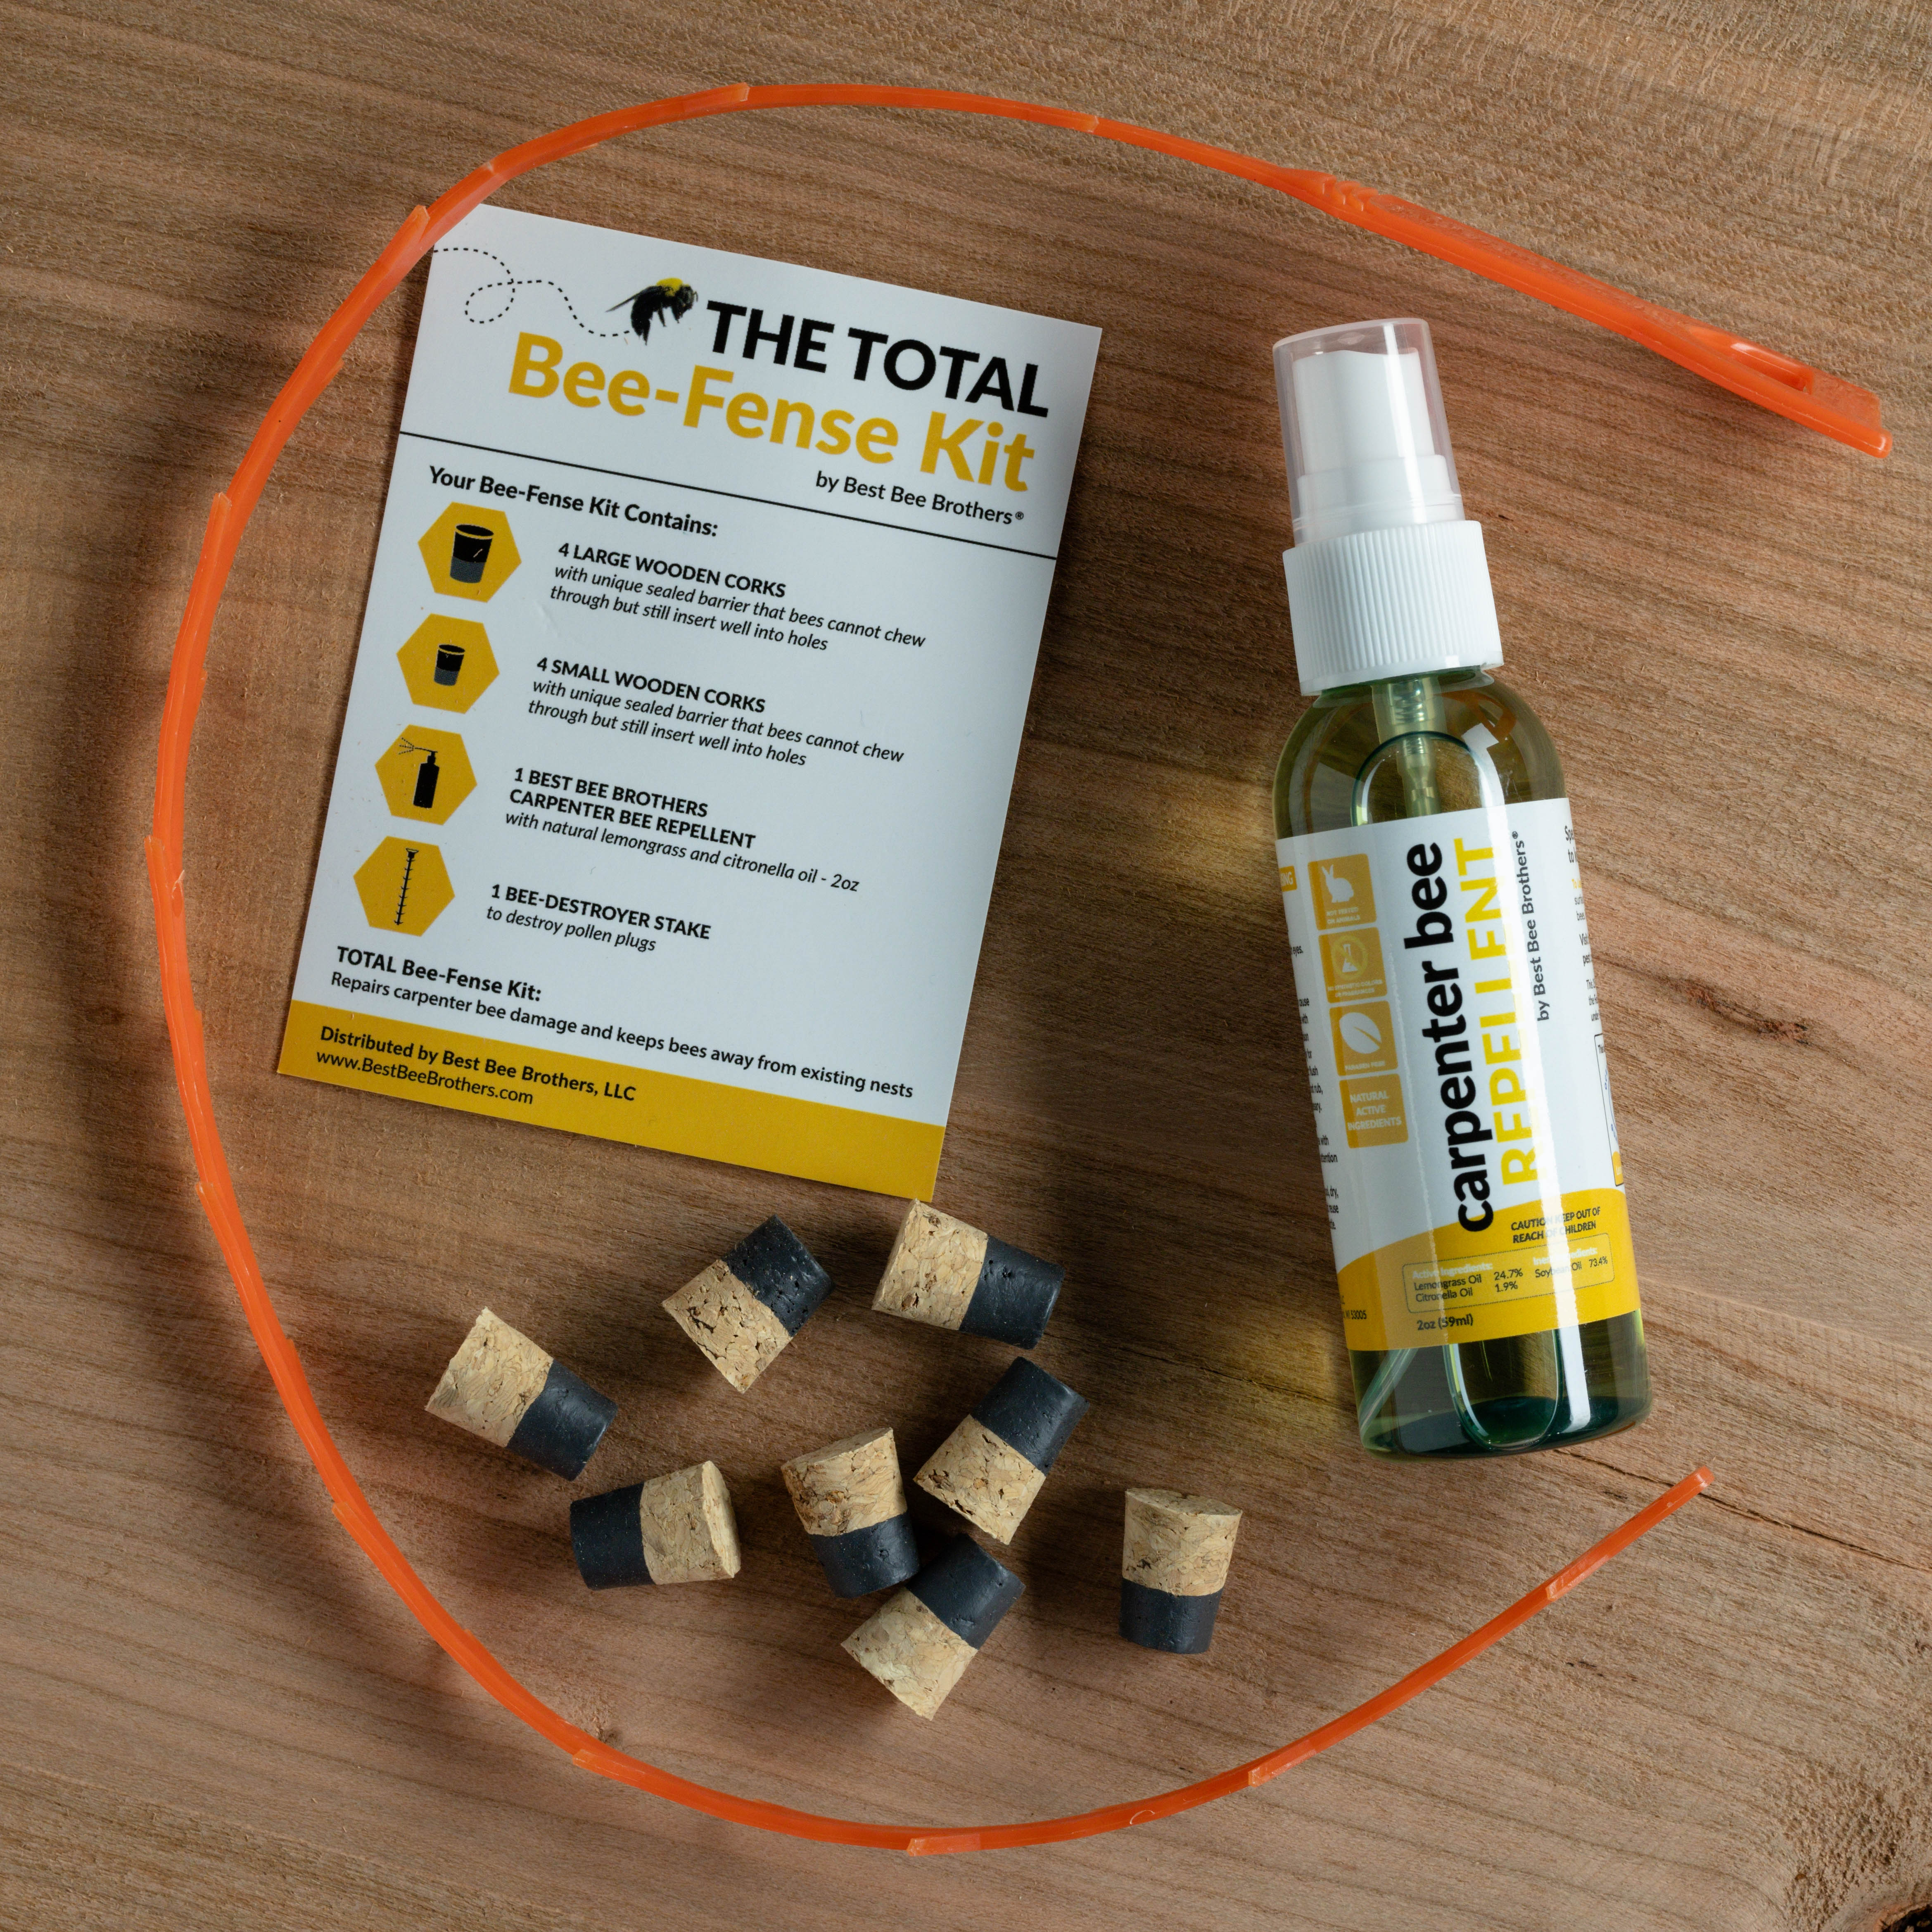
The Total Bee-Fense Kit for Carpenter Bees is designed for those struggling with an existing carpenter bee problem, and includes everything you need to seal existing carpenter bee holes and repel future bees from invading them.
Free shipping for rates under for orders $8+ USD and shipping to the contiguous 48 states.
If you are not completely satisfied with your purchase we'll give you your money back.
Why We Love It
Once you’ve located carpenter bee nests around your home, using your carpenter bee removal kit is a great way to handle them. In just four simple steps, we’ll show you how to rid your home of existing carpenter bee nests and direct them toward your favorite Best Bee Brothers carpenter bee traps (sold separately).
Step One:
Spray the citrus carpenter bee spray 3–4 times into each entry hole of the carpenter bee nests you’ve located. If you notice activity around the nests, wait until the bees are less active. Holding off until after sundown is generally advised, since carpenter bees are not as active at night.
It’s also worth noting that most of the carpenter bees you do see buzzing around are males, which are not capable of stinging. However, if provoked enough, males will become aggressive in dive-bombing you, and in extreme cases, the female will emerge from the nest, and she can sting.
Step Two:
Wait 4–5 minutes to observe whether any carpenter bees emerge.
Step Three:
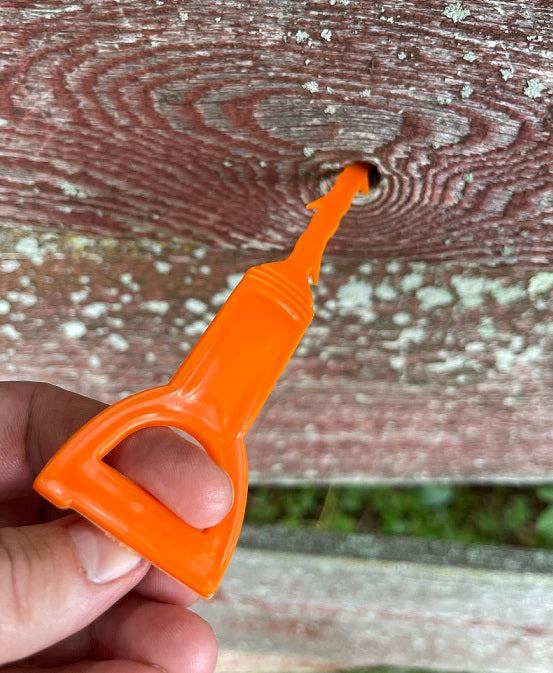
Once you feel confident that the nest is empty, insert the Bee-Destroyer Stake into each carpenter bee hole several times, as far as it will reach. This will destroy any existing pollen plugs, which is where carpenter bee larvae can be found. The Bee-Destroyer Stake works most effectively if inserted and twisted at the same time to ream the inside of the nest and crush any larvae.
Step Four:
Finally, it’s time to seal up the nest for good. Insert a Hand Dipped Wooden Cork, placing the rubberized end into each nest hole to fill the entrance, creating a barrier that carpenter bees can’t chew through. You’ll want to continue pushing the wooden cork into the hole, until the rubber is flush with the adjacent wooden surface, or as near to flush as possible. Be sure to refinish or repaint the surface to match the existing exterior.