If you were plagued by carpenter bees during the spring and summer, fall is the perfect time to fill their holes for a carpenter bee free spring.

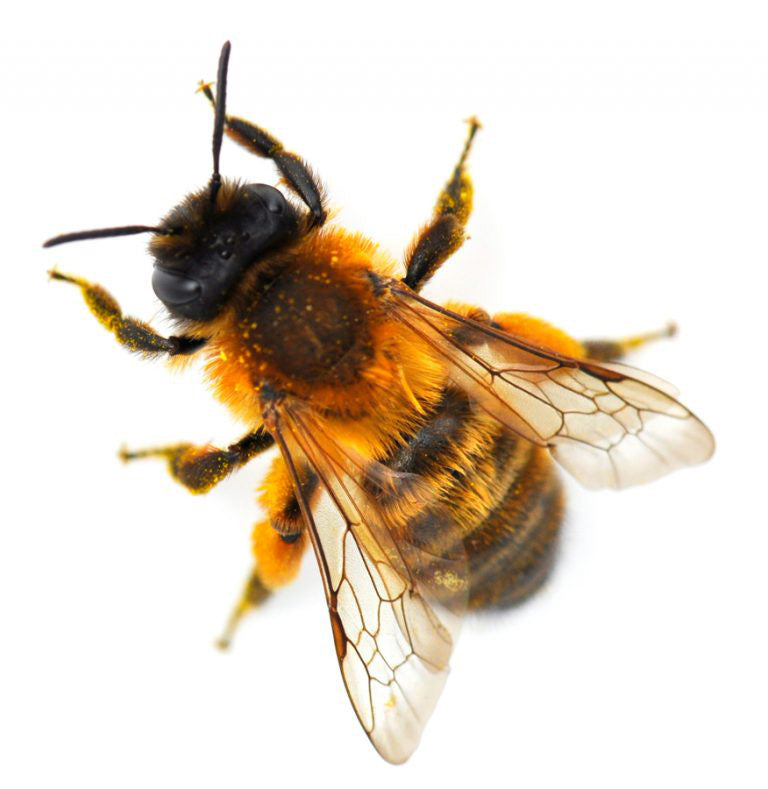
Carpenter Bee Holes.
During the fall and winter nests, are not active. The female carpenter bees have finished their nesting duties and passed away in their tunnel.
Filling the holes accomplishes two tasks:
- It stops any larva laid in the nest from emerging in the spring.
- It stops carpenter bee young who are scouting for a new home at springtime from choosing your holes.
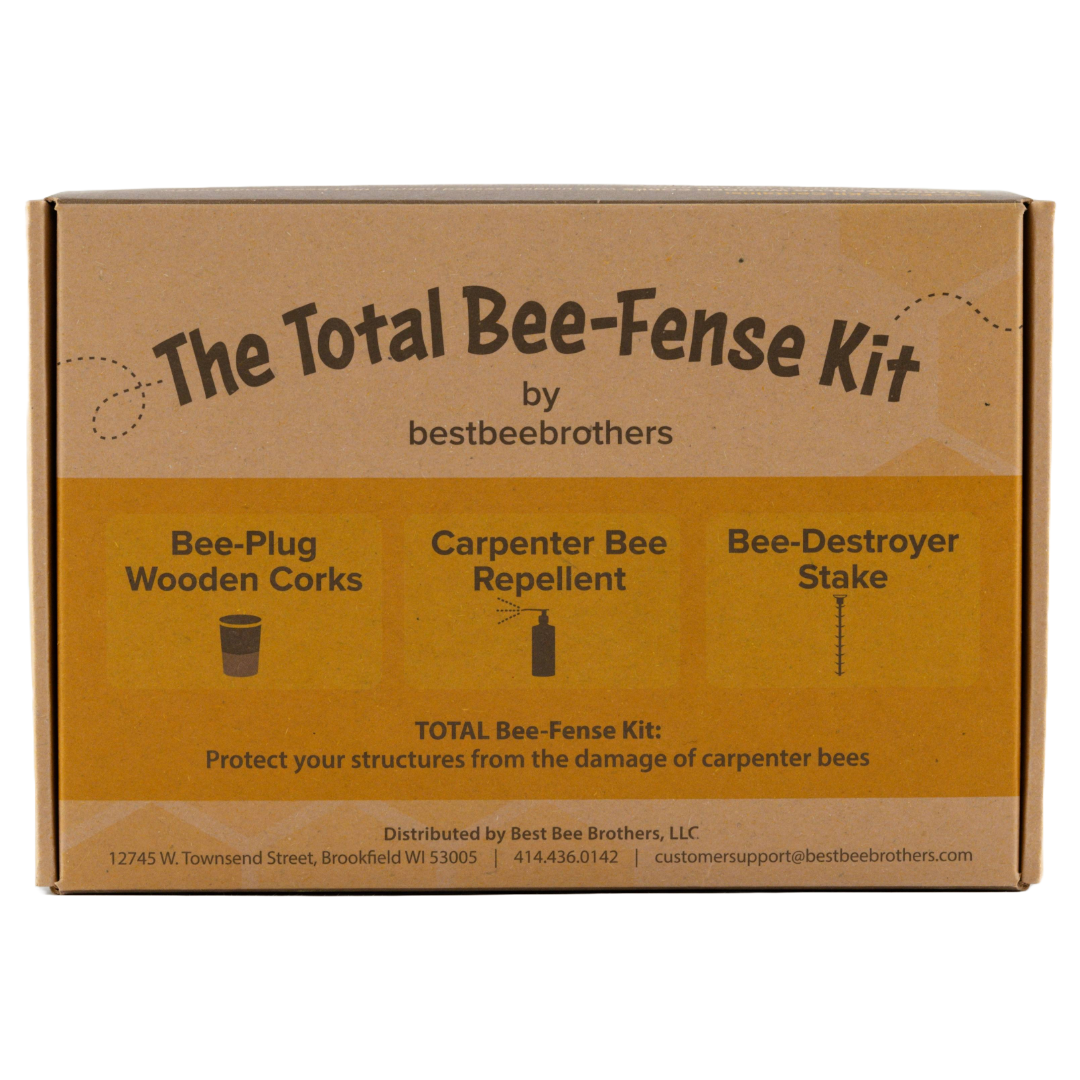
There are a variety of ways to successfully fill a hole, our favorite is the wooden dowel and caulk method. To do this, you plug the hole and make it flush with the existing exterior. This solution will prevent young carpenter bees from emerging from the nest in the spring.

To do this, you need the following:
- Cotton ball soaked in rubbing alcohol.
- ½” diameter wooden dowel
- Wood caulk
- Wooden Corks (optional)
- Exterior paint matching your existing exterior (optional)

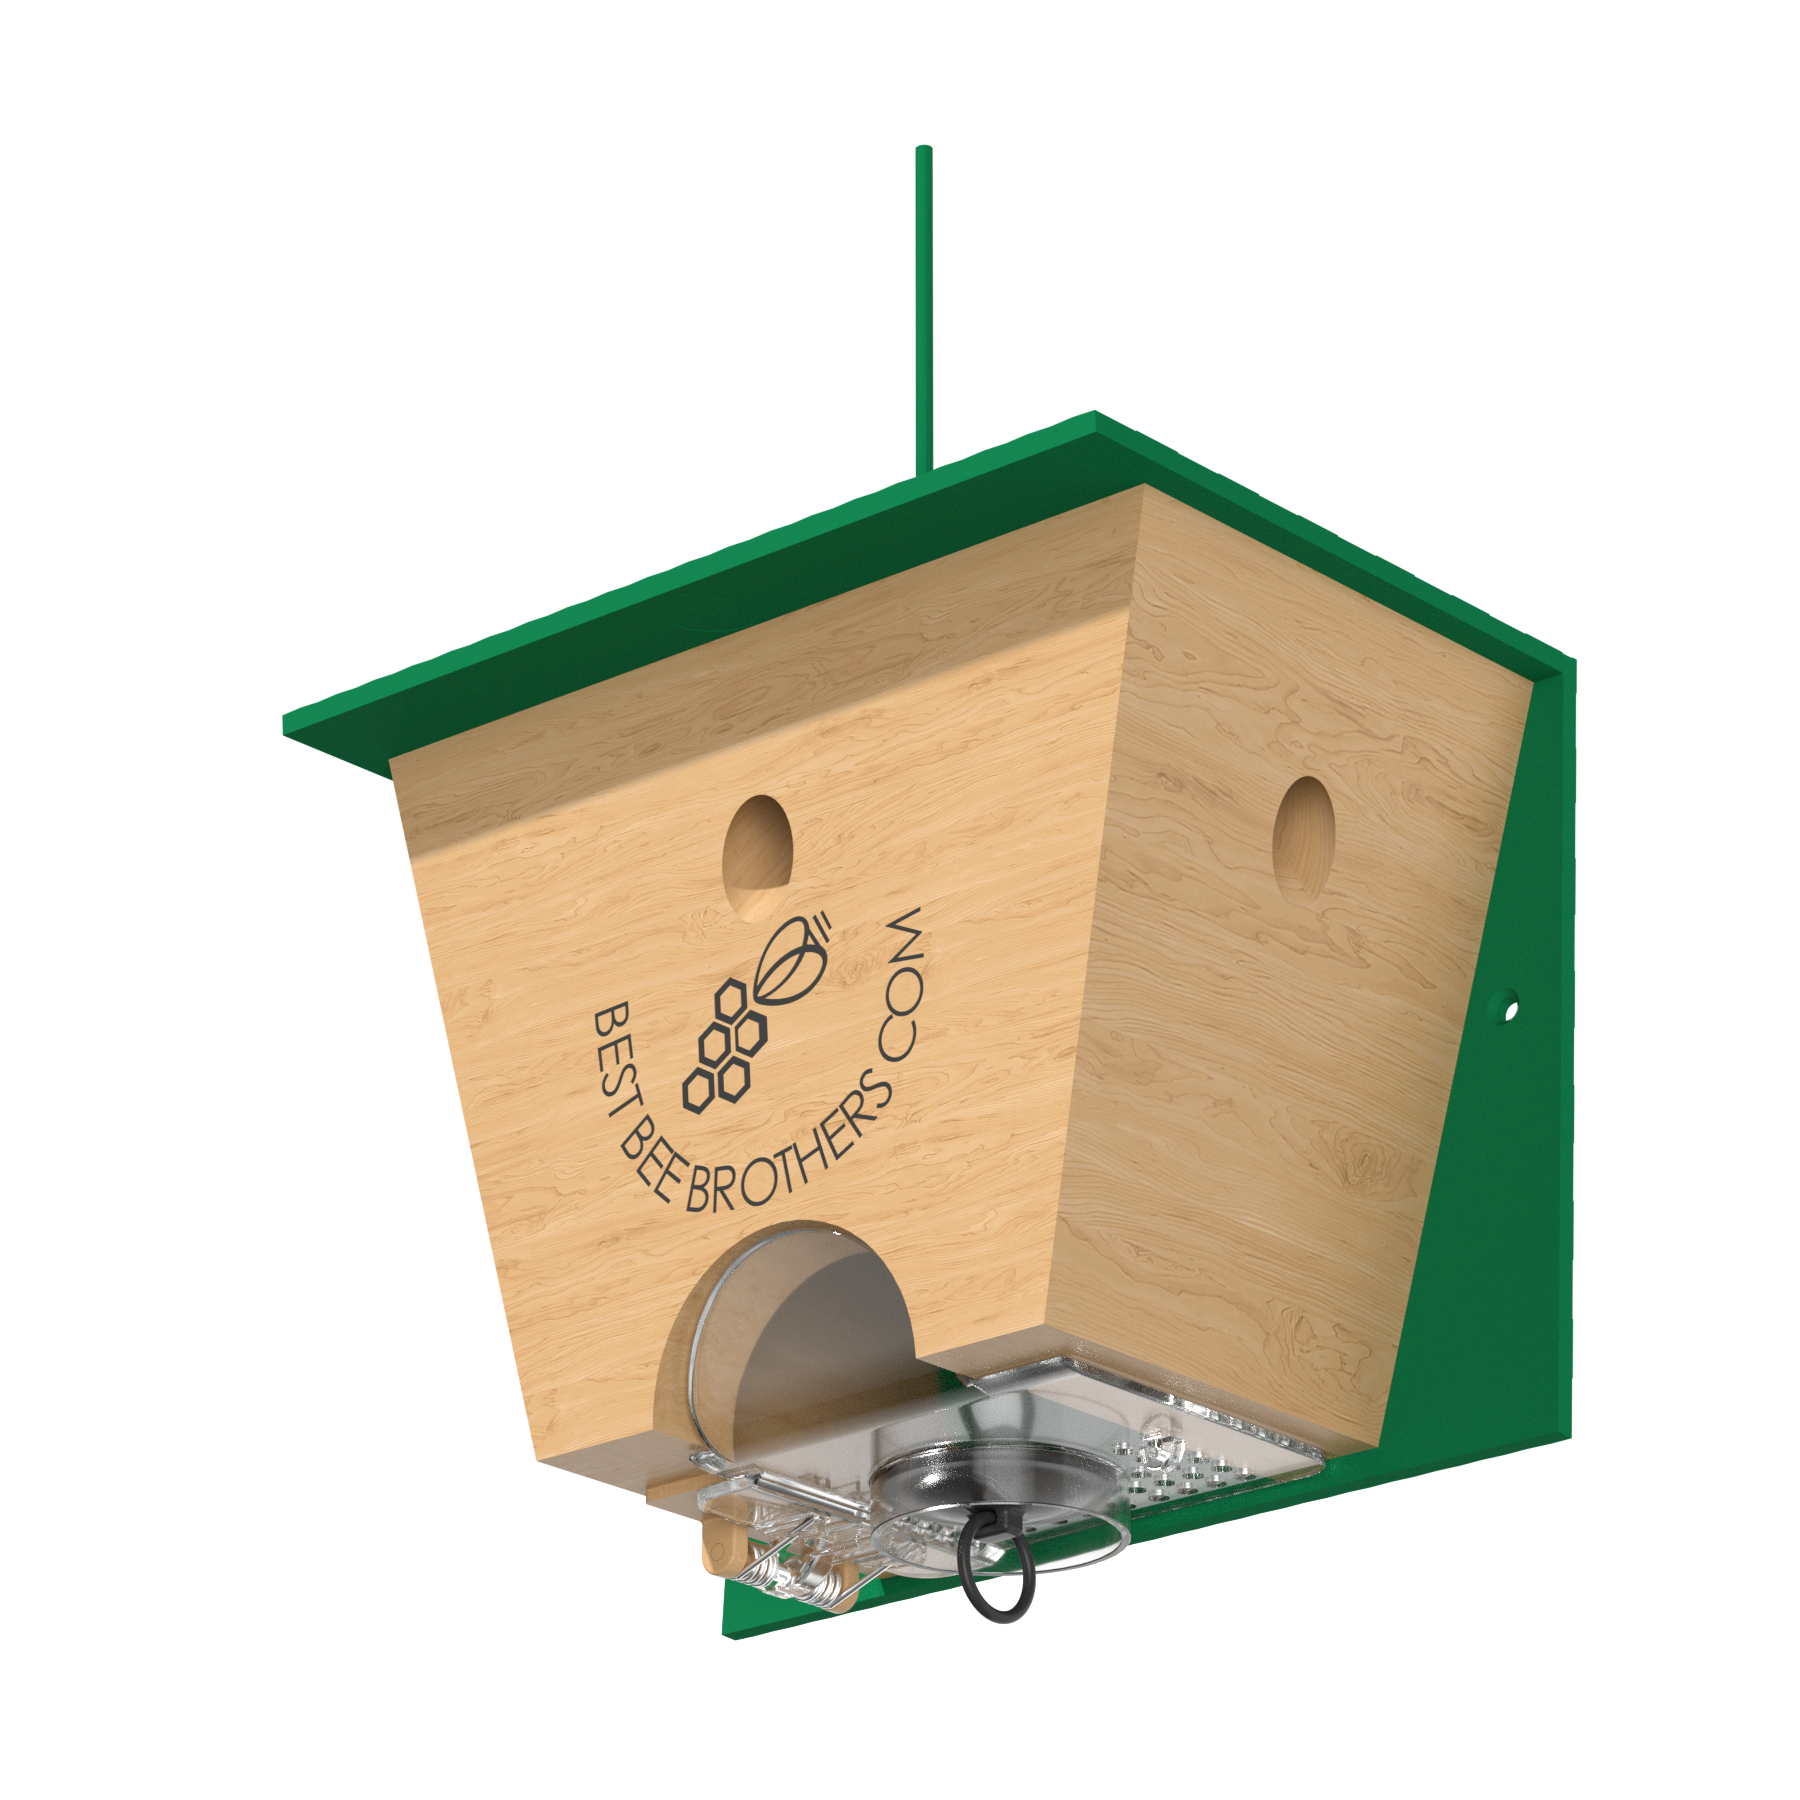
Wooden Corks
Instructions:
- Stuff the cotton ball soaked in rubbing alcohol as far down the nest as possible.
- This will remove the air in the nest and suffocate the larva.
- Some people like to treat the holes with pesticide to make sure the larva are killed. This is completely up to your preference, as we have found using the rubbing alcohol to be effective.
- Cut your wooden dowel into ¾” pieces and push as many as possible into the nest. Cut the last dowel piece to be flush with the exterior.
- If you rather skip the wooden dowels, you can use our wooden corks designed to fit carpenter bee nests.
- If you use the wooden cork, move to step 3 (caulk) and push the wooden cork in place after.
- Squeeze caulk into the hole and wipe flush with the exterior.
- Wait for the caulk to dry and paint the now patched hole to match your home.
Be sure to find all your carpenter bee nests. You’ll need to look for ½” holes around the eaves and corners of your home. Deck and porch railings are also ideal places for the bees to nest. The holes could have brown stains around them, or wood shavings dropped from the holes.
PRO TIP: Once your nests are plugged up and secure, remember those locations for the spring. They are clearly great spots for carpenter bee nests, so you’ll want to prevent new nests. Placing the traps up at the beginning of spring will stop carpenter bees from nesting in your home!
11 comments
William Anstock
Thanks for the advice…will do. Are the traps I bought last year still good to use? At any rate will need 1 or2 more…let me know when you have a sale👍
Leave a comment
All comments are moderated before being published.
This site is protected by hCaptcha and the hCaptcha Privacy Policy and Terms of Service apply.